Please follow the below steps for installing Semieta onto a new machine or upgrading Semieta from a previous version.
- Click on the download link sent to you by AccessIT Data. After downloading, the following message may appear:
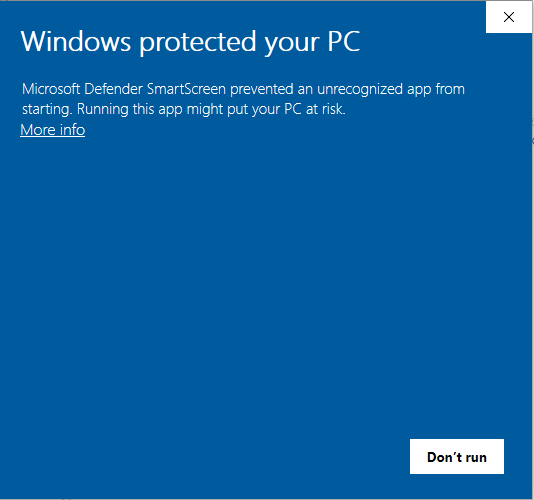
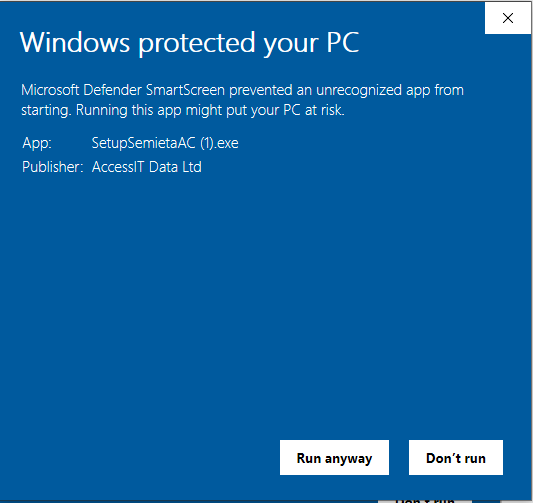
Please click ‘More info’ at the top and then click ‘Run Anyway’ as below:
2. Select ‘Yes’ if asked to make changes to the user account at this point and provide admin rights if required.
3. Once the wizard is running, the first screen you will see is this:
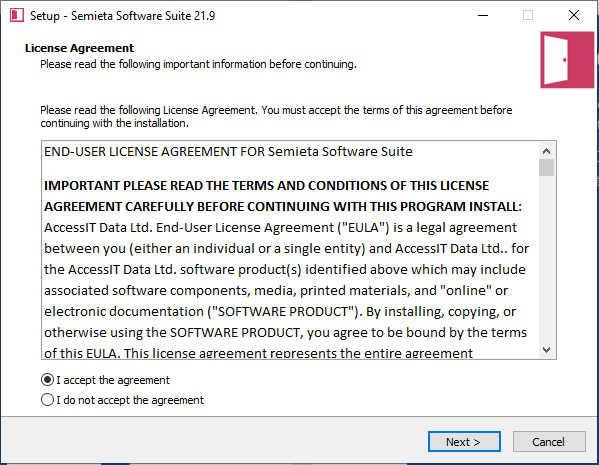
4. Please read the terms of the License Agreement and if happy, click ‘I accept the agreement’.
5. The next window is for selecting the components that you need to install. The drop-down allows you to select different packages depending on your requirement.
- For a new install, you will need the ‘Server installation’.
- For an upgrade on the server (or where the access control service sits), you will need ‘Server Upgrade’. This does not contain the SQL Express database components.
- For a fresh install or upgrade of a client workstation, you will need ‘Workstation installation’. This has neither SQL Express database components or the Access Control services.
- For any other installation, please choose ‘Custom installation’ and select your components separately.
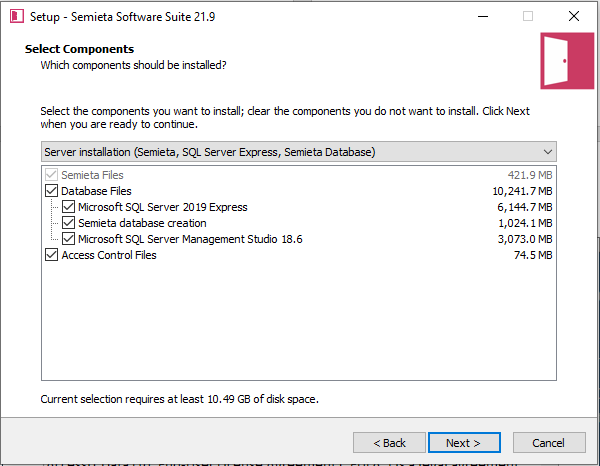
6. Click ‘Next’ when you are happy with the type of installation required.
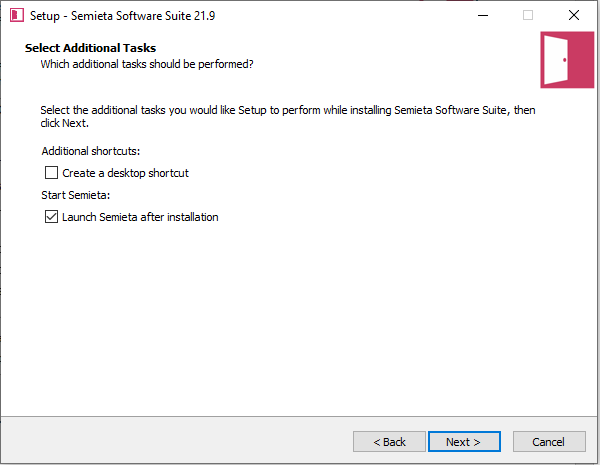
7. The next window is for ‘Additional Tasks’. Please select what you wish the wizard to also set up and then click ‘Next’.
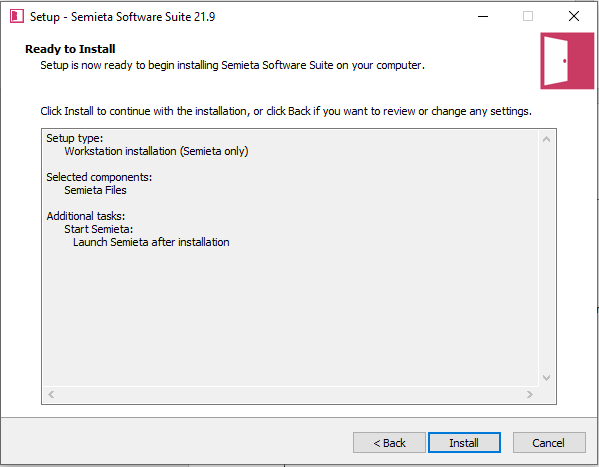
8. The following window confirms all that has been selected. This may look different to the screenshot below depending upon your choices. Please review and then click ‘Install’ when you are satisfied with the selections made.
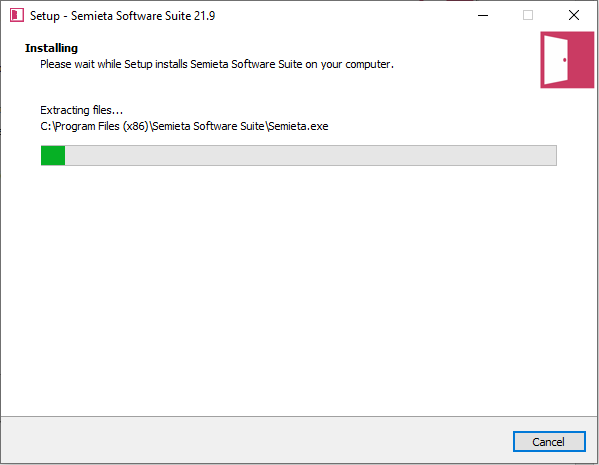
9. The installer will now perform its tasks. You can see the progress in the green bar in the below window:
10, Once completed, the last window will look like this:
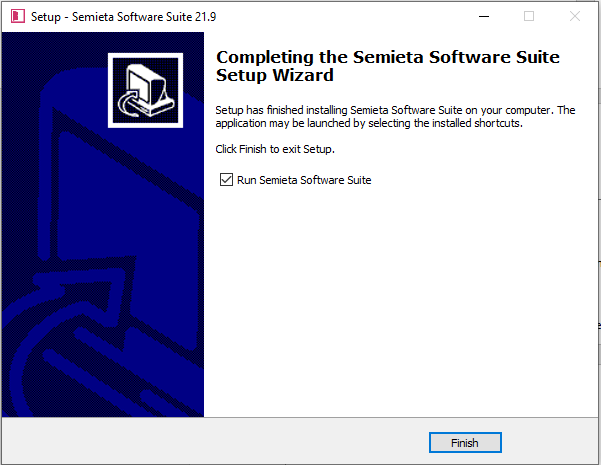
11. Please click ‘Finish’ after choosing whether to run Semieta straight away, or un-check to run at a later point.
If you need further support, please contact support@accessitdata.com or visit your Zendesk page using your login details.