Setting Up Sign IN/OUT Readers
With your Access Control setup, you can set certain readers to log IN and OUT movements for card swipes. In turn, these swipes can then be used to produce time and attendance reports for individuals.
How to set up Sign IN/OUT readers
- Log in to Semieta Software Suite.
- Click on the 'Access Control' tab.
- Click on the Controllers button so a new window will open showing all of the controllers available at site:
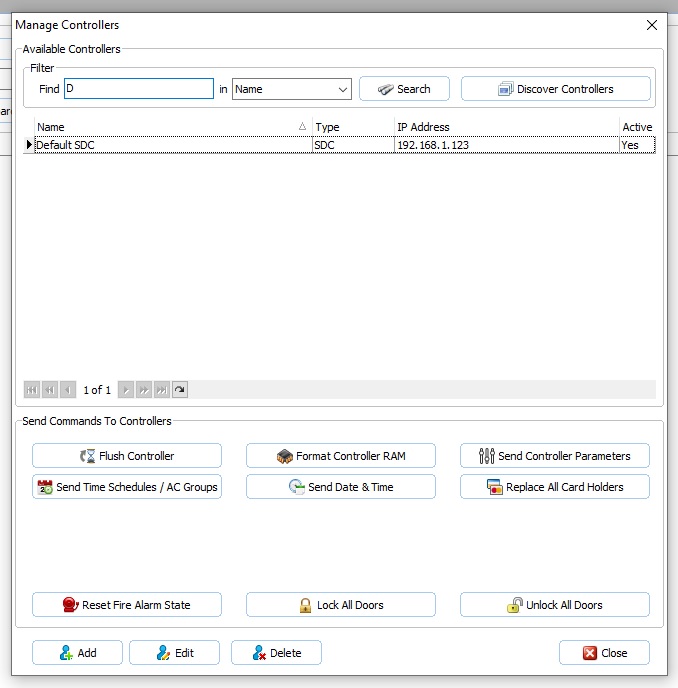
- Click on the controller you want to change settings for and then click 'Edit' at the bottom of the window. The following 'Controller Settings' window will appear:
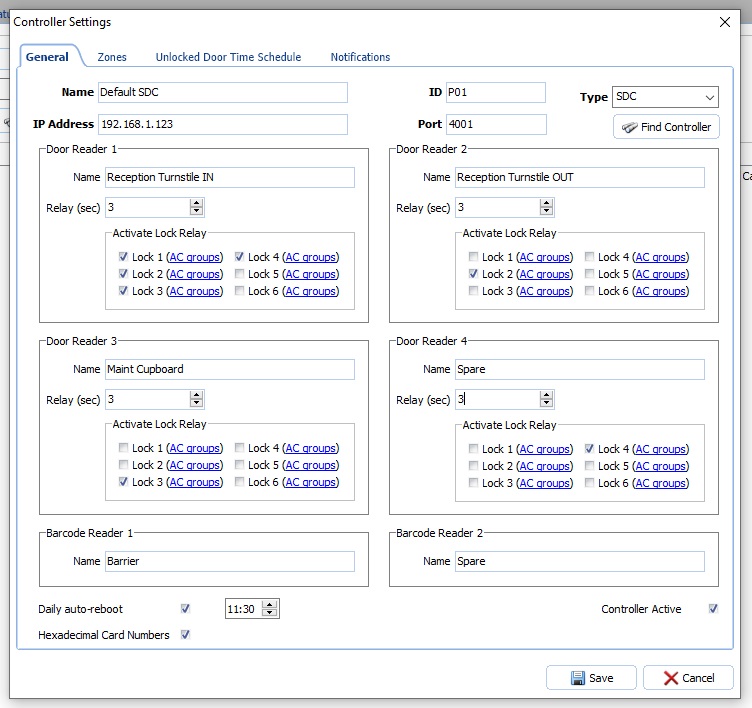
- Make a note of which read point is under each door reader location. (For example, Door Reader 1 above is for 'Reception Turnstile IN'). You will need this information to another window shortly.
- Next click on the 'Zones' tab:
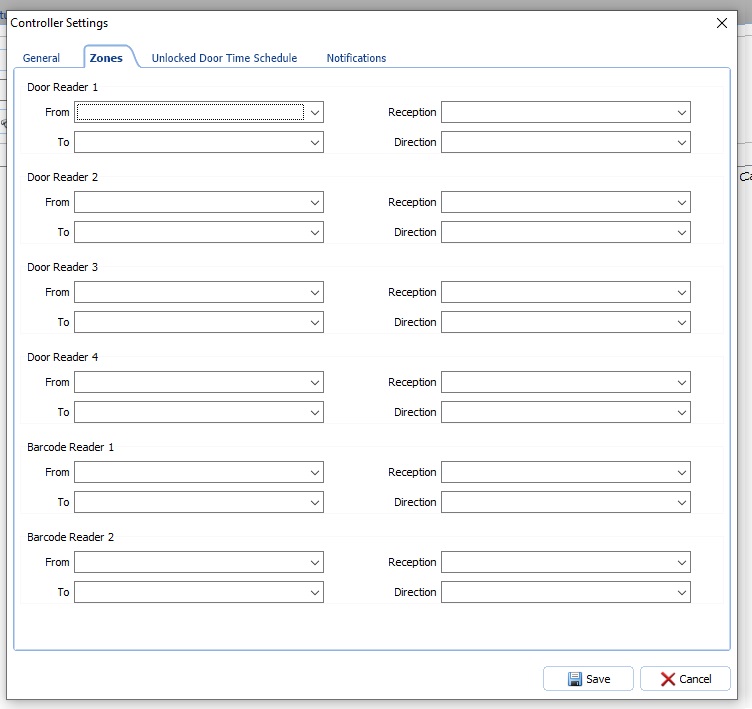
- In the 'Zones' section, you need to select the available 'Reception' from the dropdown menu (see below), followed by the 'Direction' for this reader. At this reader, are people going to be coming IN or going OUT of the building?
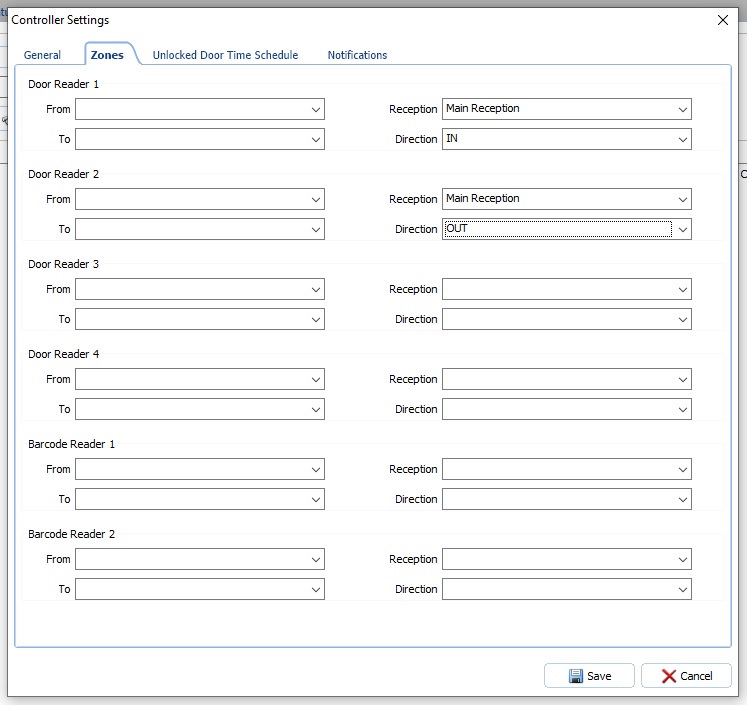
- With both those set, you can now add in the 'From' and 'To' directions for Door Reader 1:
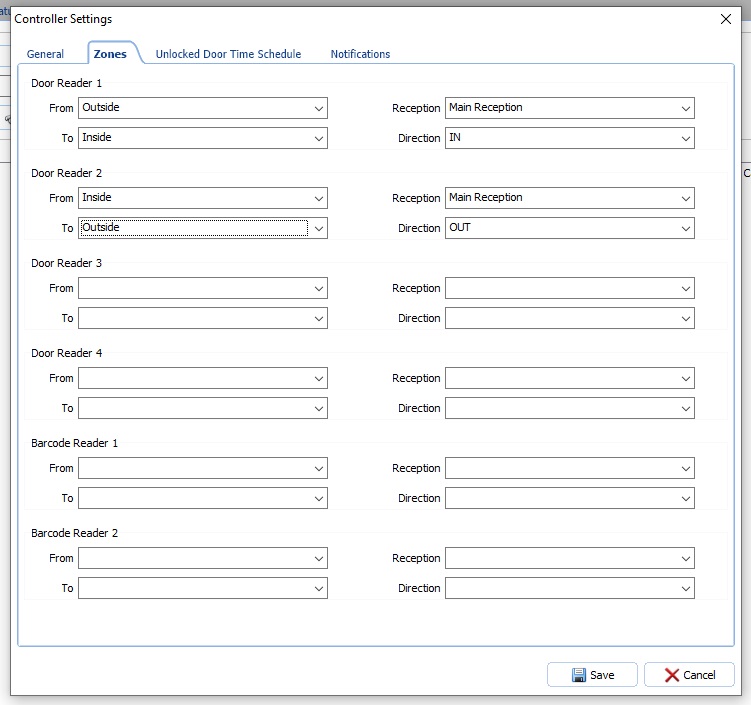
- Repeat the above for any door readers that you want to use for attendance tracking. An 'OUT' door will be mandatory to compliment any 'IN' door you set.
- Click 'Save' and the updates will be sent to the controller.
- When swiping at your newly setup read points, you will find that the event is transferred to the 'Visits' tab of the 'Reception Management' view.
Please contact AccessIT Data for further help if needed.
Please also note that an automated report that can generate information on who has been in on site (scanned at an 'IN' reader on a given day) is also available. Please contact AccessIT Data for more information.