How to Create and Run an Automated Backup for Microsoft SQL Express
Microsoft SQL Express does have a backup service built in, but it is a manual process you need to go through. To create an automated service we recommend you use SQL Backup Master (third-party software) that can be used to create backups, save them to a folder or location of your choice and have the backups run on a schedule of your choosing.
You can get a copy of the 3rd party software here: SQL Backup Master
Please follow the steps below to install and setup your SQL Backup Master:
- Use the above link to download your up to date copy of SQL Backup Master.
- Once downloaded, run the installer and allow it to complete and run the application once finished.
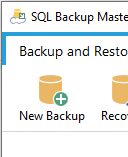
- Once SQL Backup Master has opened, click on the 'New Backup' button to begin the setup.
- This will open a new window. Click the 'Choose SQL Server' button. This will open a new window.
- The application should automatically detect your SQL Server and you will need to select to connect using SQL Server account. Enter the details per the below image (note: some SQL Server connection details may not be the same, if you have any trouble connecting, contact the office).
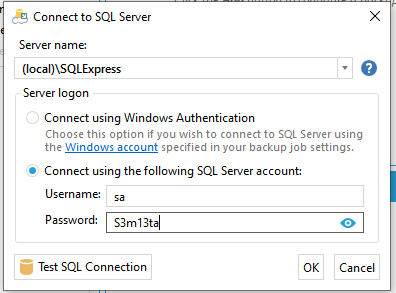
- Once you have entered the details as above (or as you have been instructed), click 'Test SQL Connection'. As long as the result is successful, you can then click OK.
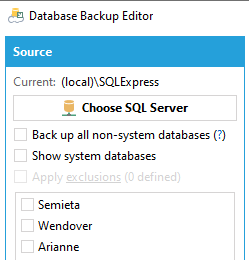
- Next, you need to select your database. Your database should be called 'Semieta' (please contact the office if you do not see the Semieta database name present in the list).
- Next, you need to select a destination for where the backup file should be saved. Click 'Add'.
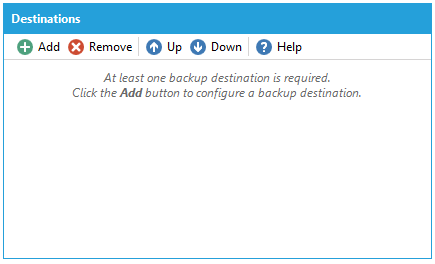
- Here you will be given multiple options of where to store your backup file. Please chose the most reliable location that is not on the same machine. This way you will be guaranteed to keep an up to date copy of your SQL database available in the unlikely event that you should encounter any problems with your SQL Server or current hardware.
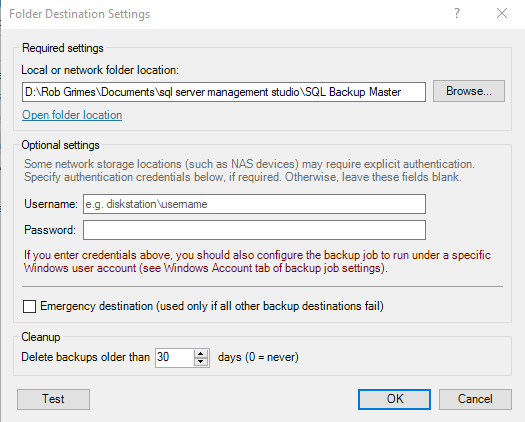
- Set your location and then set the number of backups you wish to keep at any 1 time. Click 'OK' once you are happy with the details you have entered.
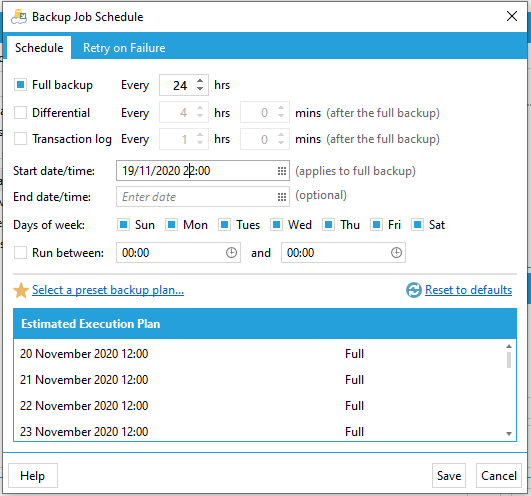
- Next you need to schedule the backup service. Click the 'Not Scheduled' text.
- To set your backup preference details, it is important to remember to set the job to run at a time where the database will be at its lowest use i.e. out of normal office hours. An example is below:
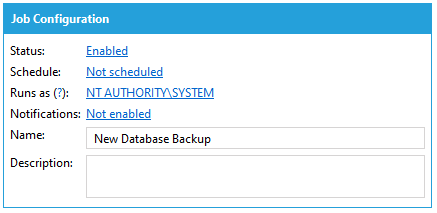
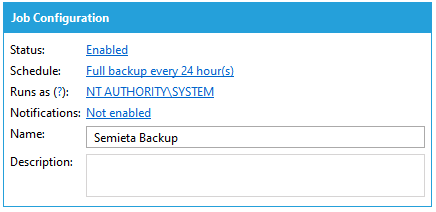
- Click 'Save' once you are happy with your backup schedule settings. You now need to name your backup something memorable and add a description if needed.
- Click 'Save' once you have filled in all parts of the setup process.
- You will then be taken back to the original window of the application, where you can click the 'Backup Now' button to make sure the setup you have entered completes.

- So long as the backup completes successfully, you can close the SQL Backup Master application.