Creating a New User Role
Creating a new user role will allow you to set new access rights within the software for specific users.
- Log in to Semieta Software Suite.
- Click on the 'Administration' tab.
- Click on the 'User Role' button and a new window will open. Here you will be able to create any new 'User Role' titles:
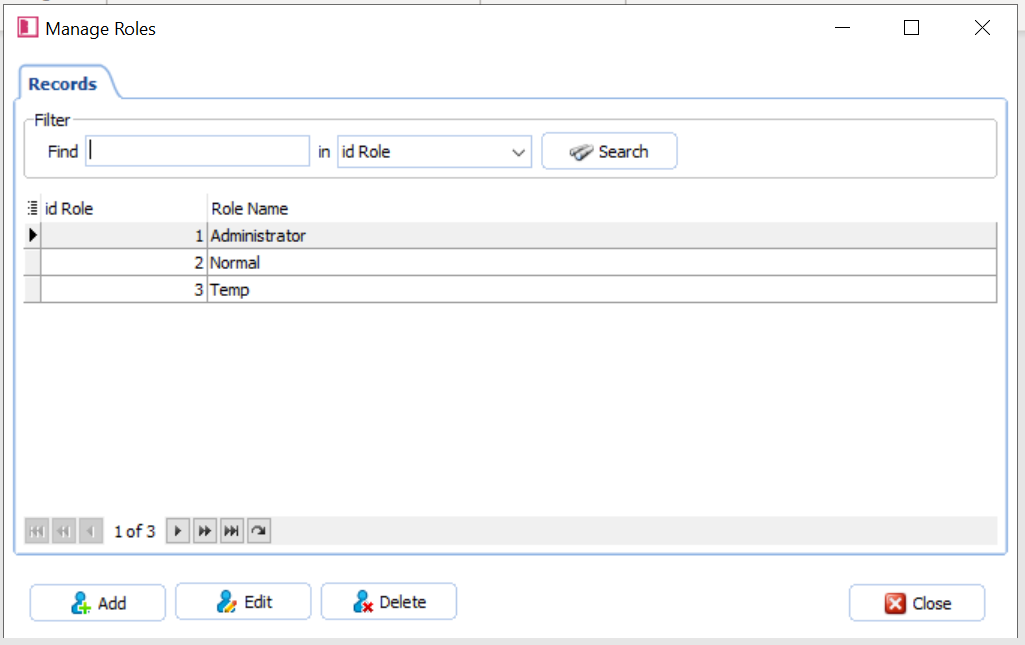
4. Click 'Add' at the bottom of the page, type in the new 'User Role Name' and then click 'Save'.
5. Add in any others you wish to create (or edit using the 'Edit' button once highlighted and then close the 'User Role' window.
6. Next, you need to click on the 'Security' button: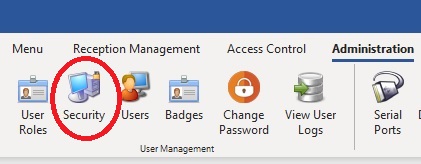
7. A new window will open with a list of all the available User Roles. Click on the User Role you would like to setup and you will see a list of options appear on the right hand-side of the window:
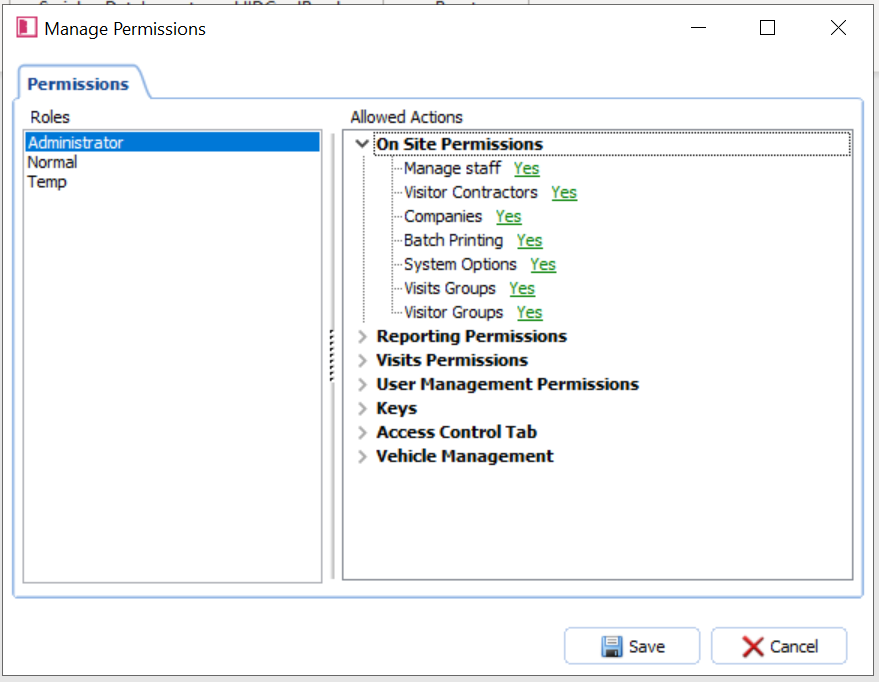
8. Click on the arrow for each option title in turn and it will expand to give you the available security options:
**Note: all options are based on a Yes/No toggle. 'Yes' will allow the user access to the feature. 'No' will deny them; however it will not stop them from viewing certain areas of the software**
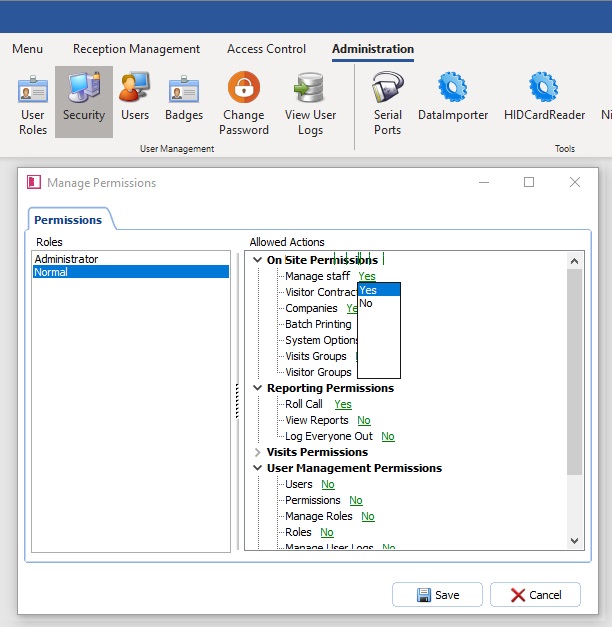
9. Once you are happy with the options you have selected for the User click 'Save'.
10. We recommend you login as the new user to test and check that the permissions are as you stipulated.
** Note: Within their Windows User roles, you may also need to edit their system options permissions so that they have access to the correct folders e.g. Badges and Pictures folders. These folders can normally be found in 'C:\ProgramData\AccessITData' **